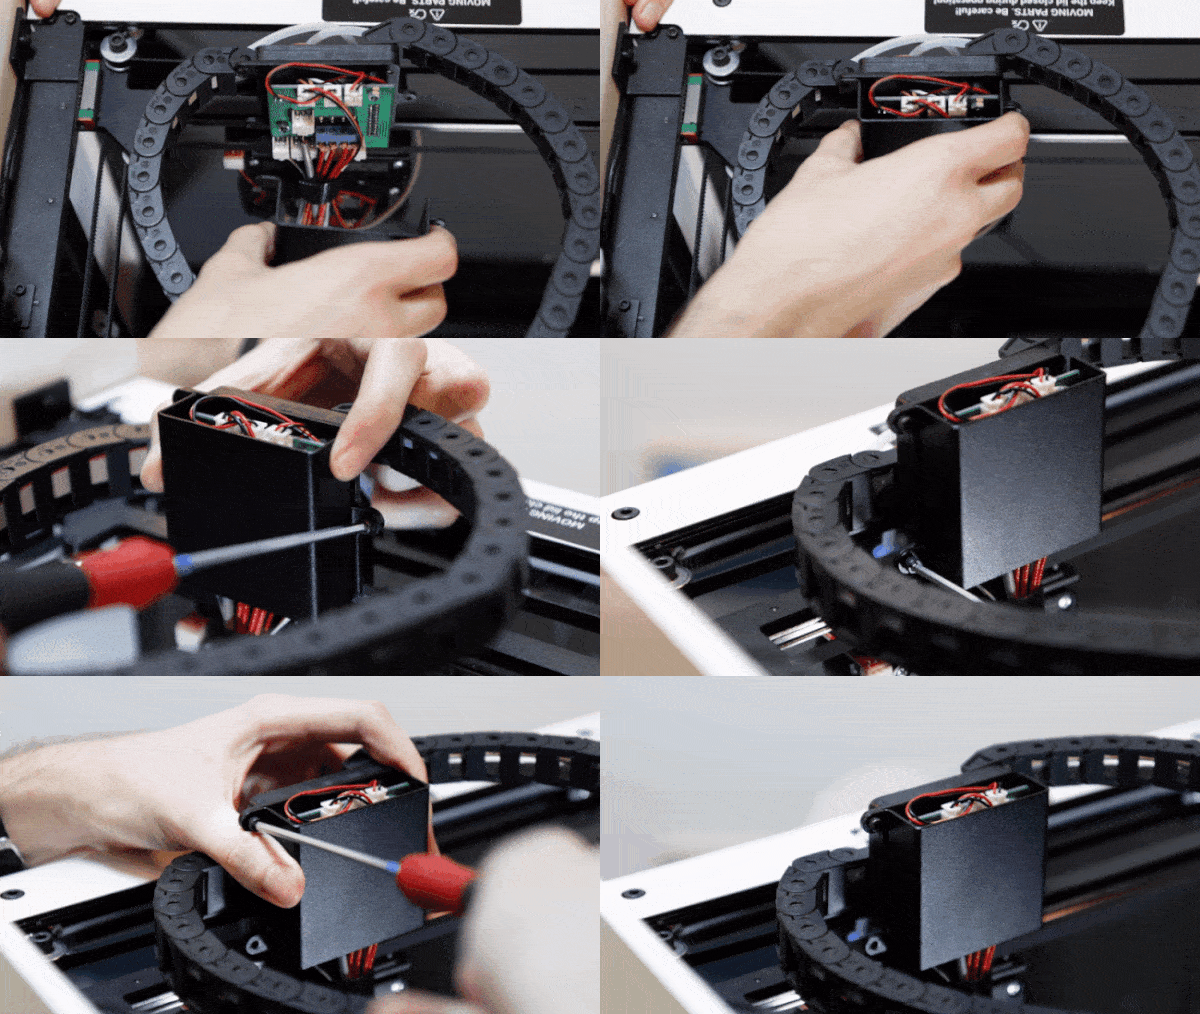
Place something made out of metal (like a screwdriver) underneath the Z probe and see if the red LED at the top lights up.
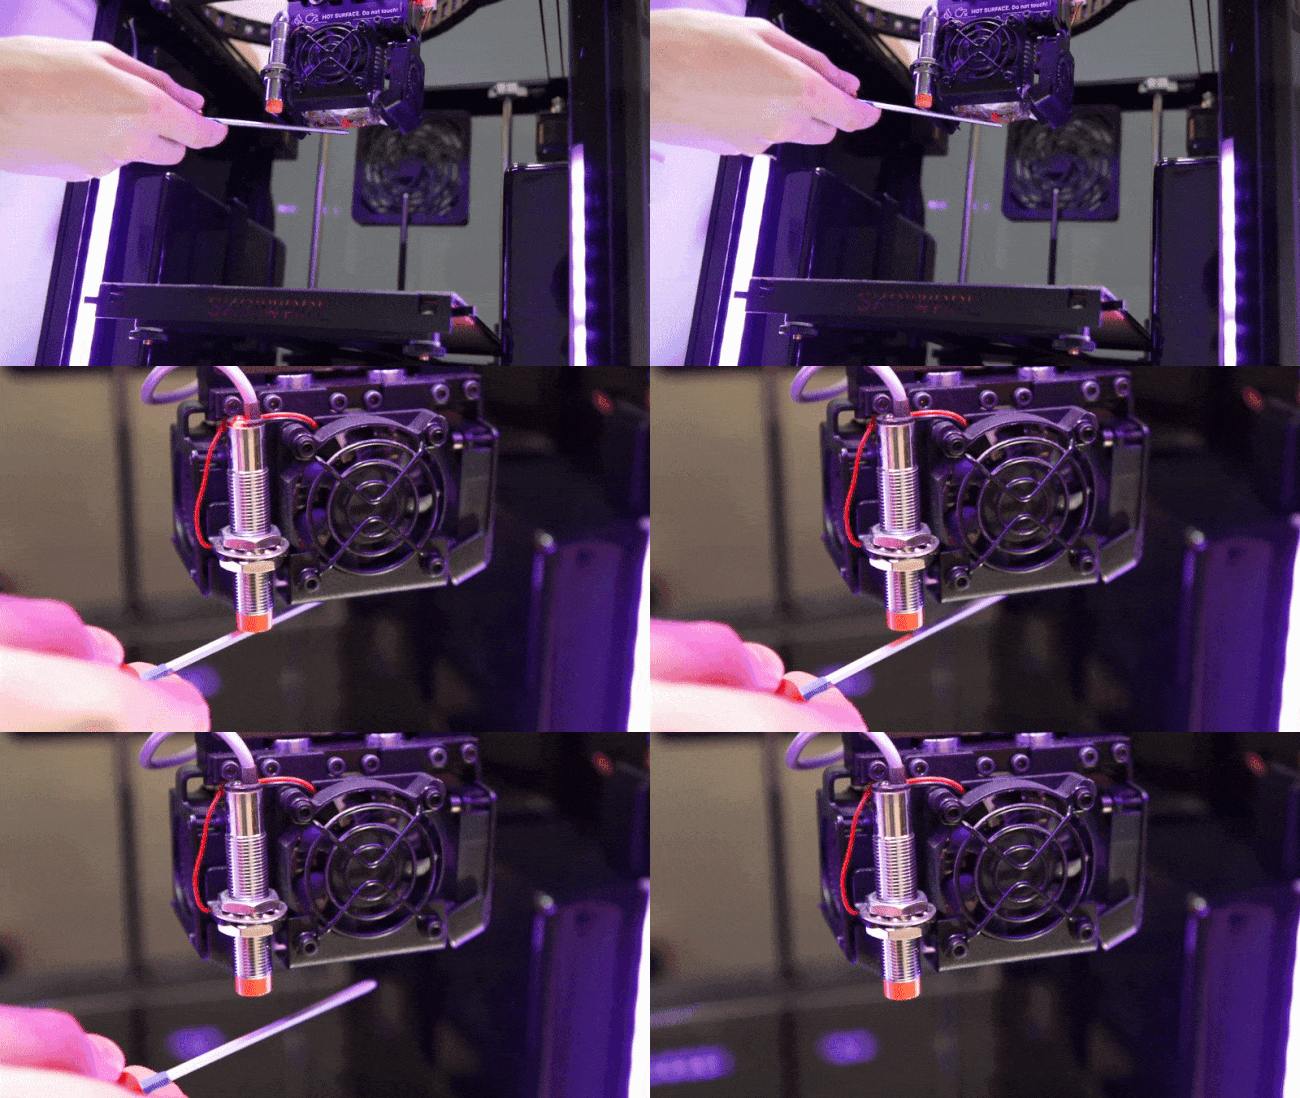
Go to Settings -> Manual Control and press the Home Z button. Check if the printer stops when you place something made out of metal underneath the Z probe.
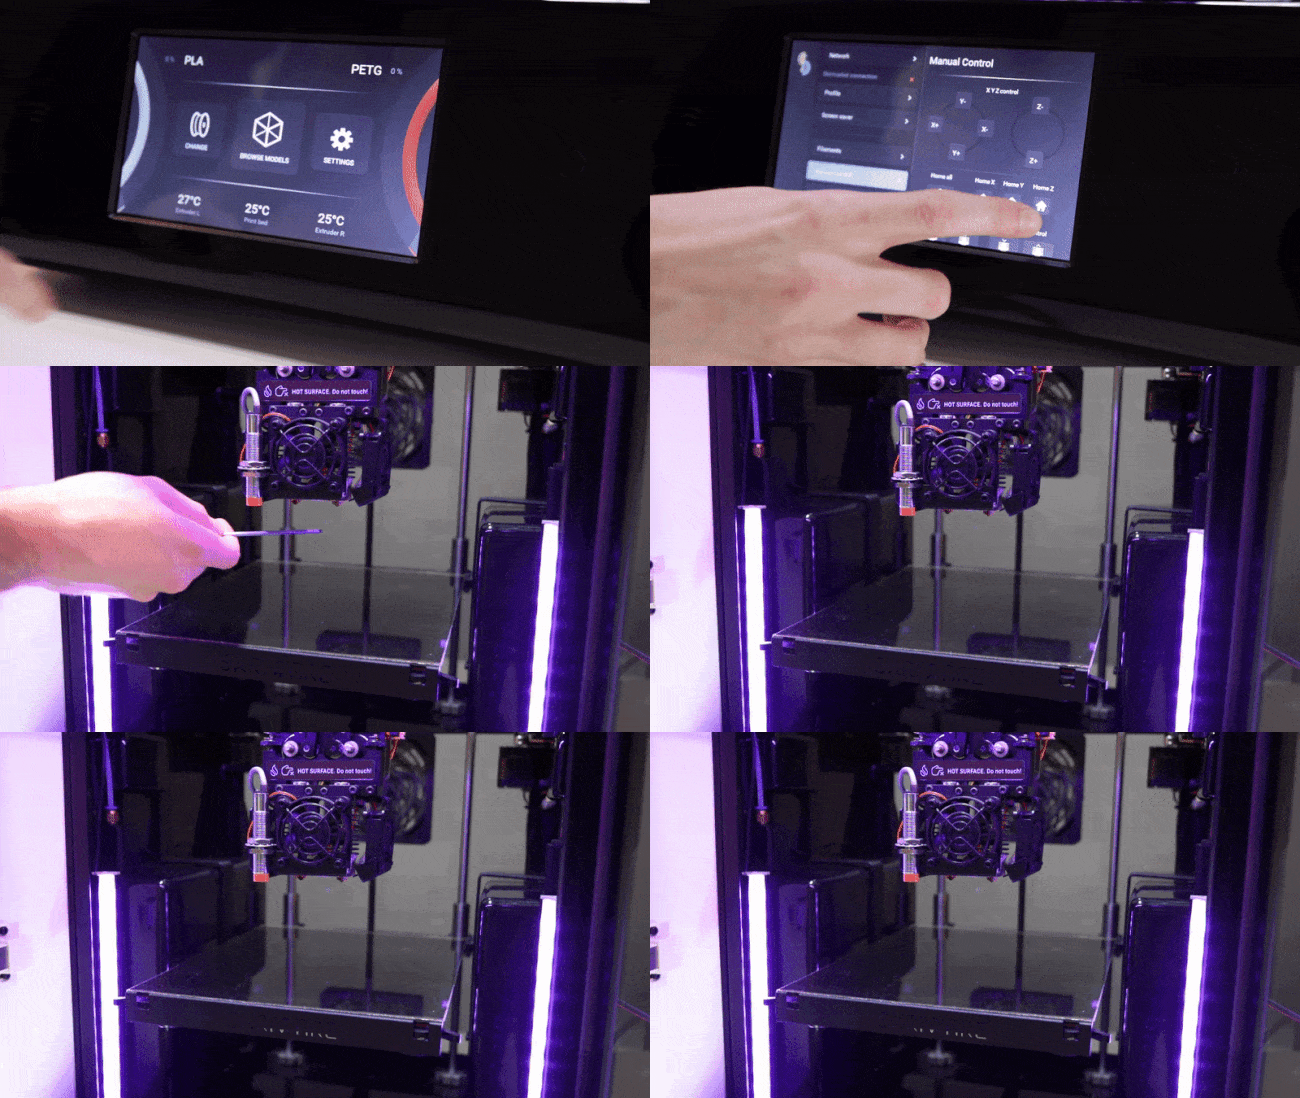
Make sure the nozzle is clean. Check this video out to see how to clean the nozzles.
Check if the Z probe is lower than the end of the heat block.
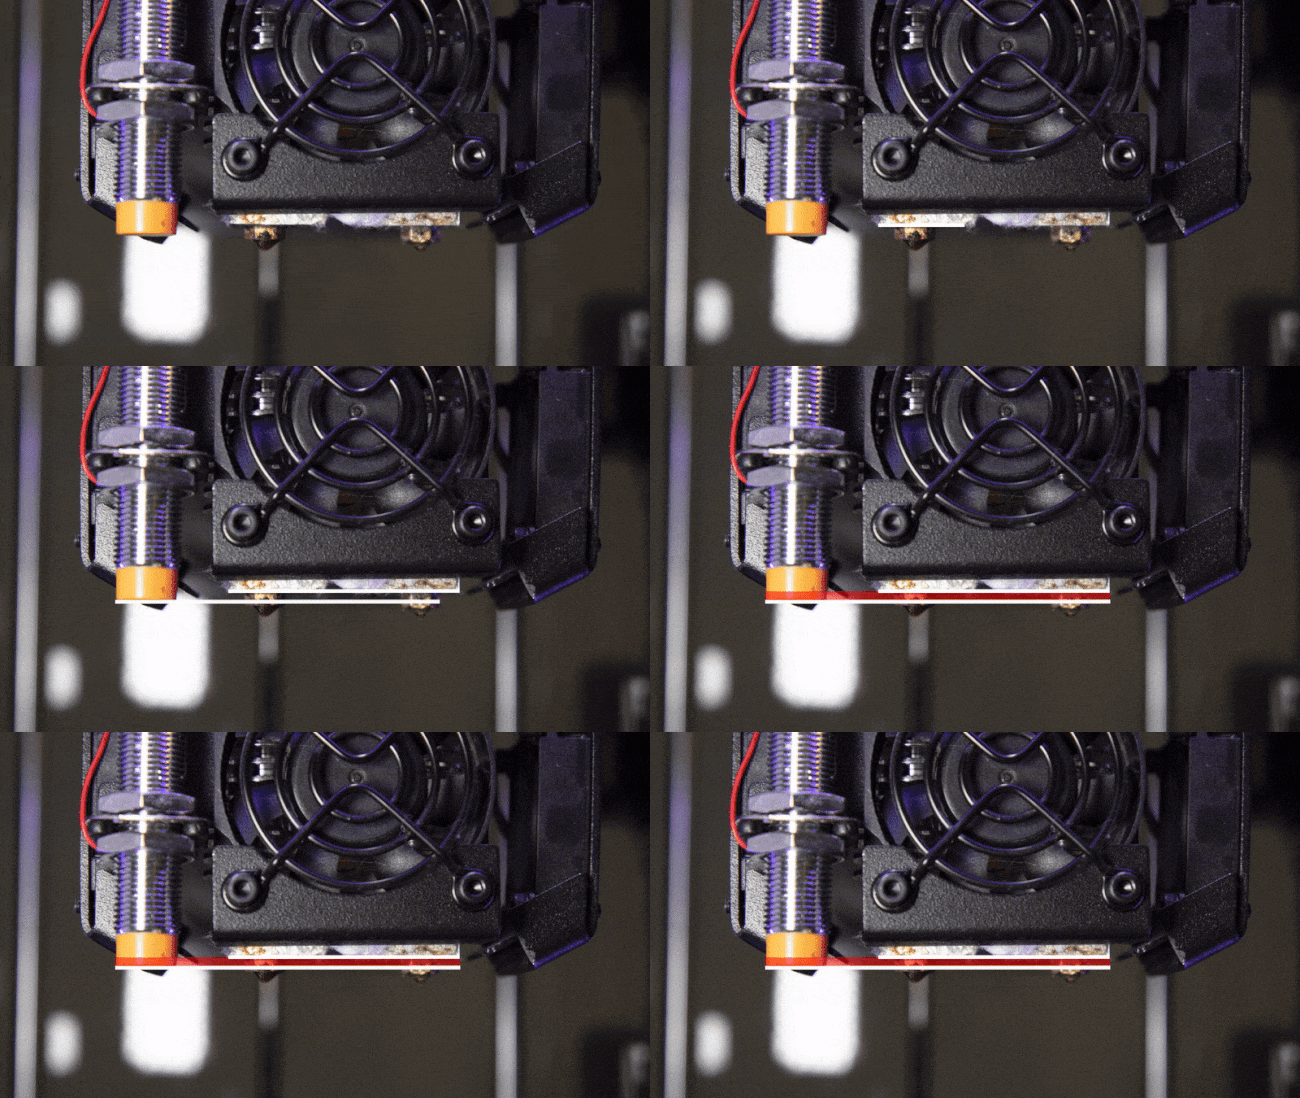
If the problem still persists, continue with these steps.
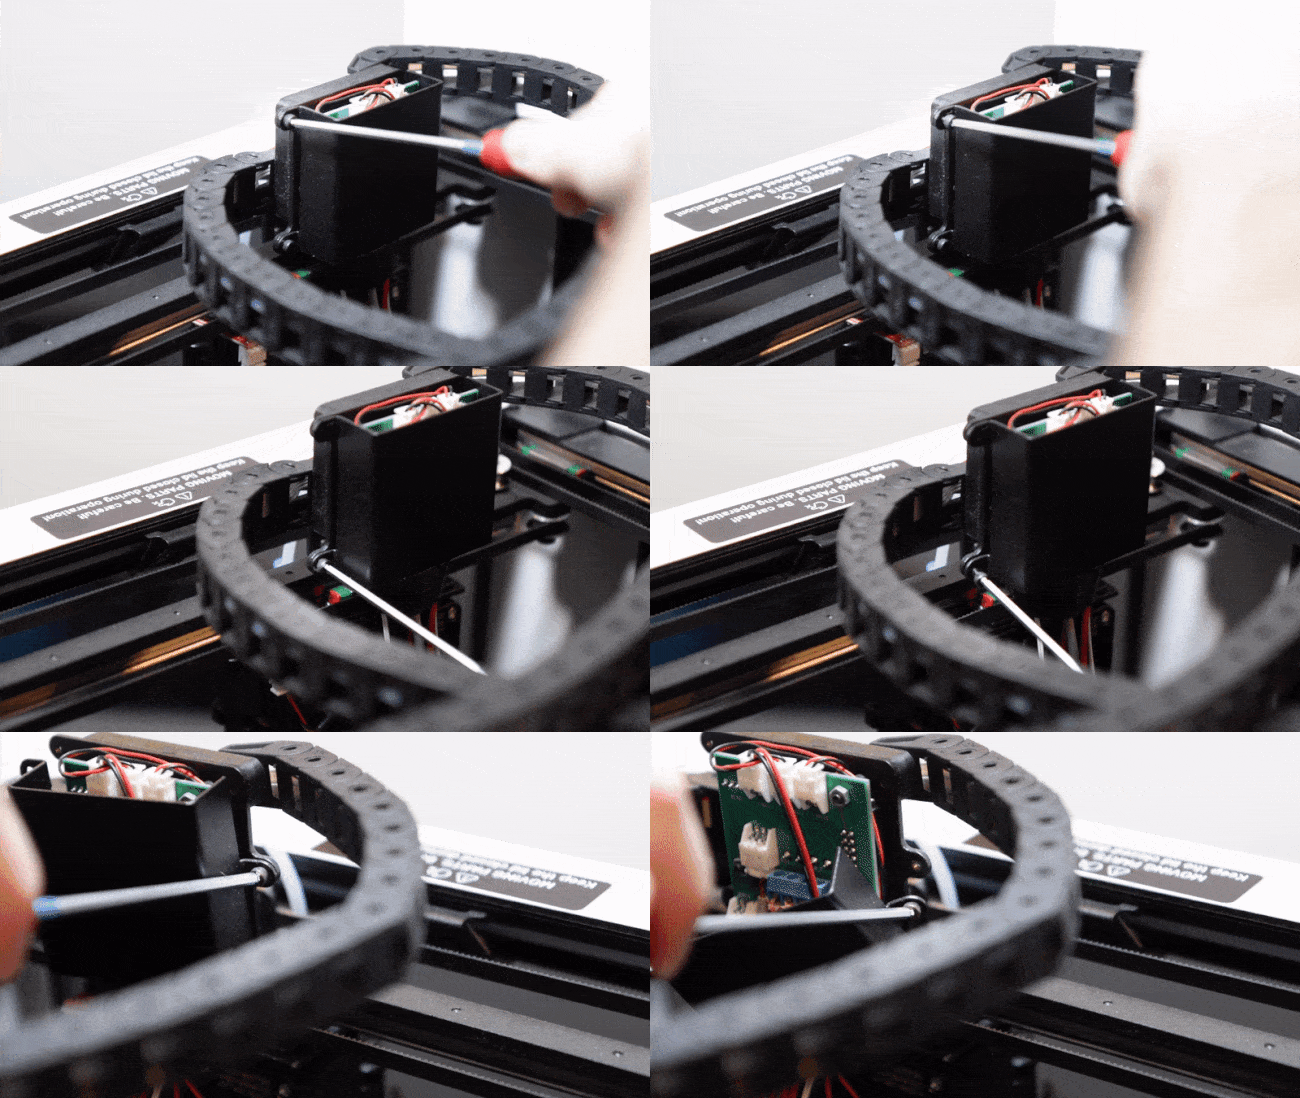
Remove 3 screws from the cover at the back of the print head.
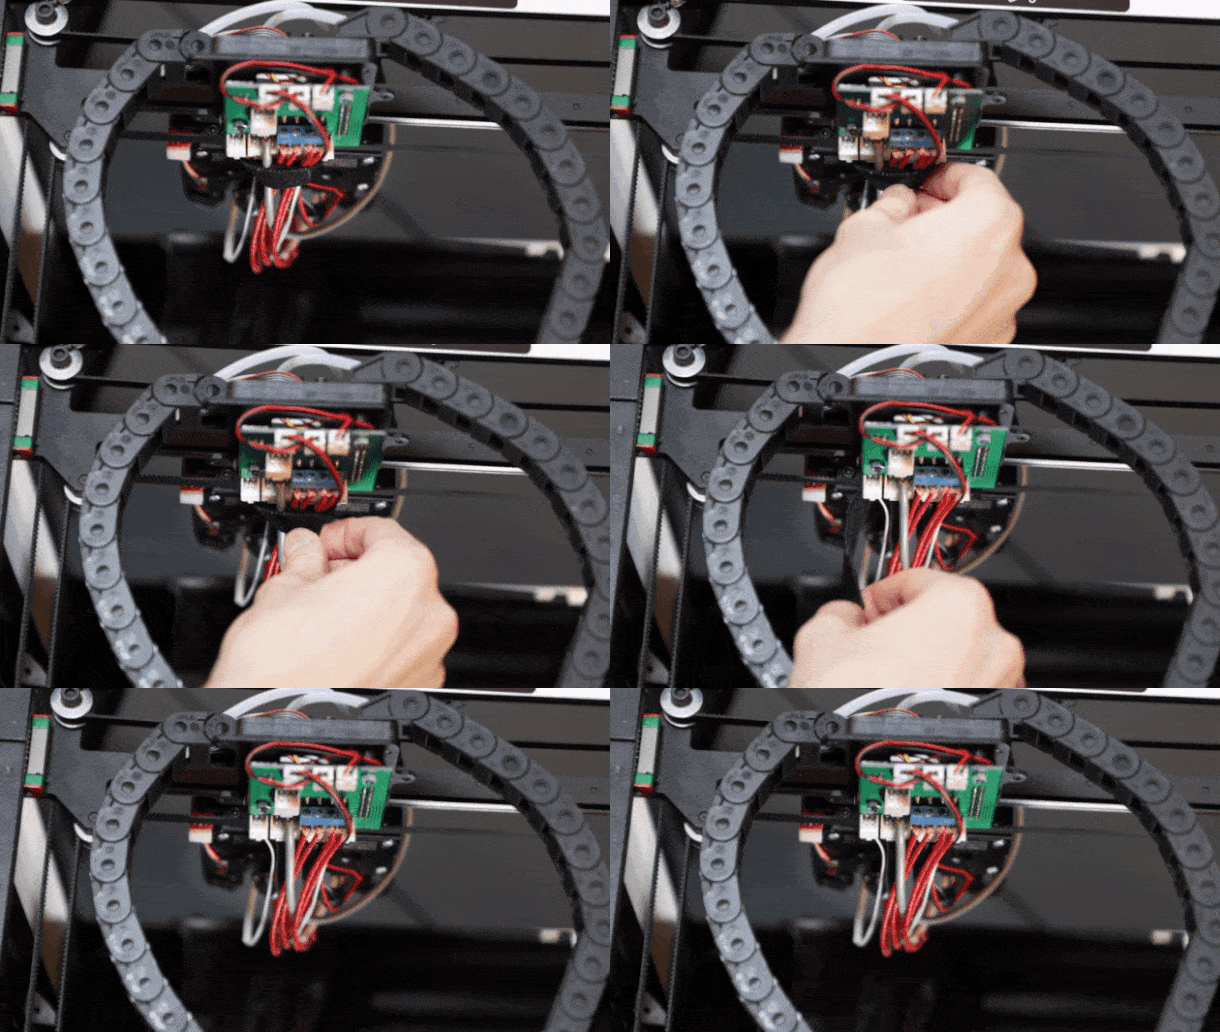
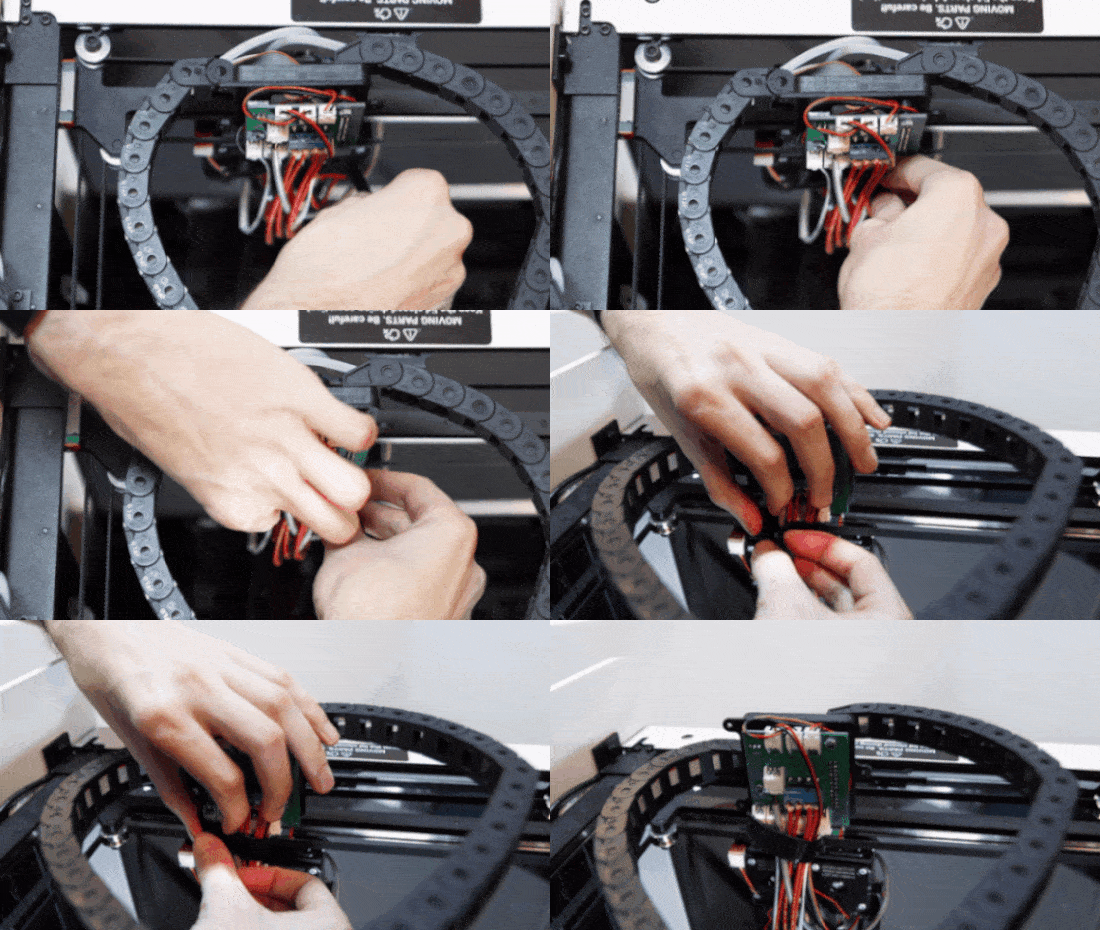
Remove the velcro strap that's holding the cables.
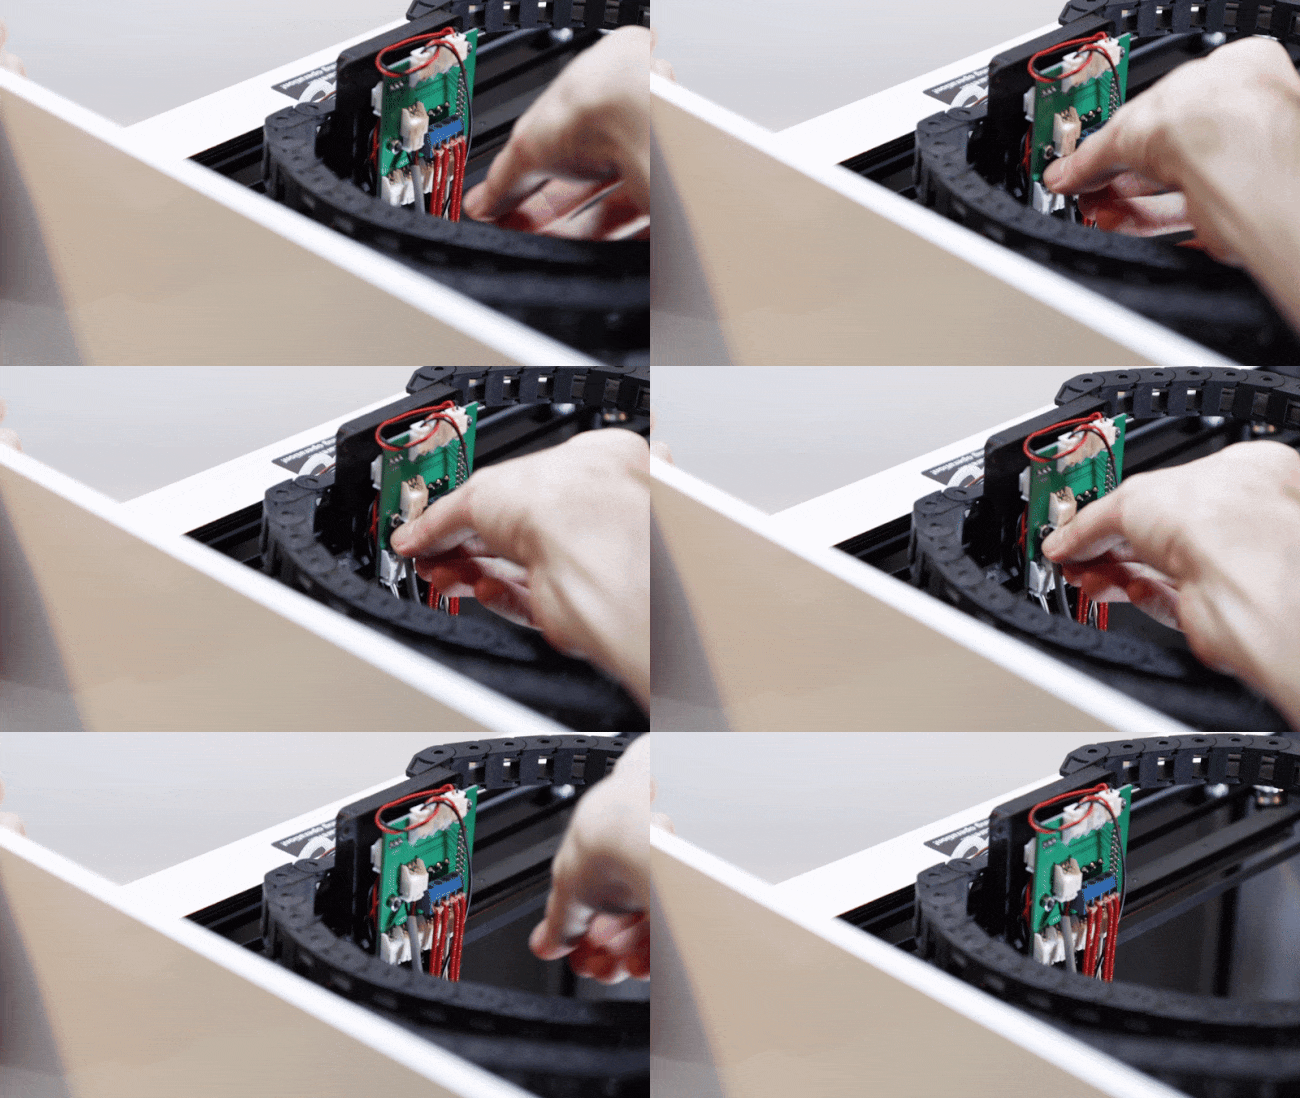
Push the Z probe cable into the socket.
Check if the problem still persists. If it does you will need to replace the Z probe.
To replace the Z probe perform the following steps.
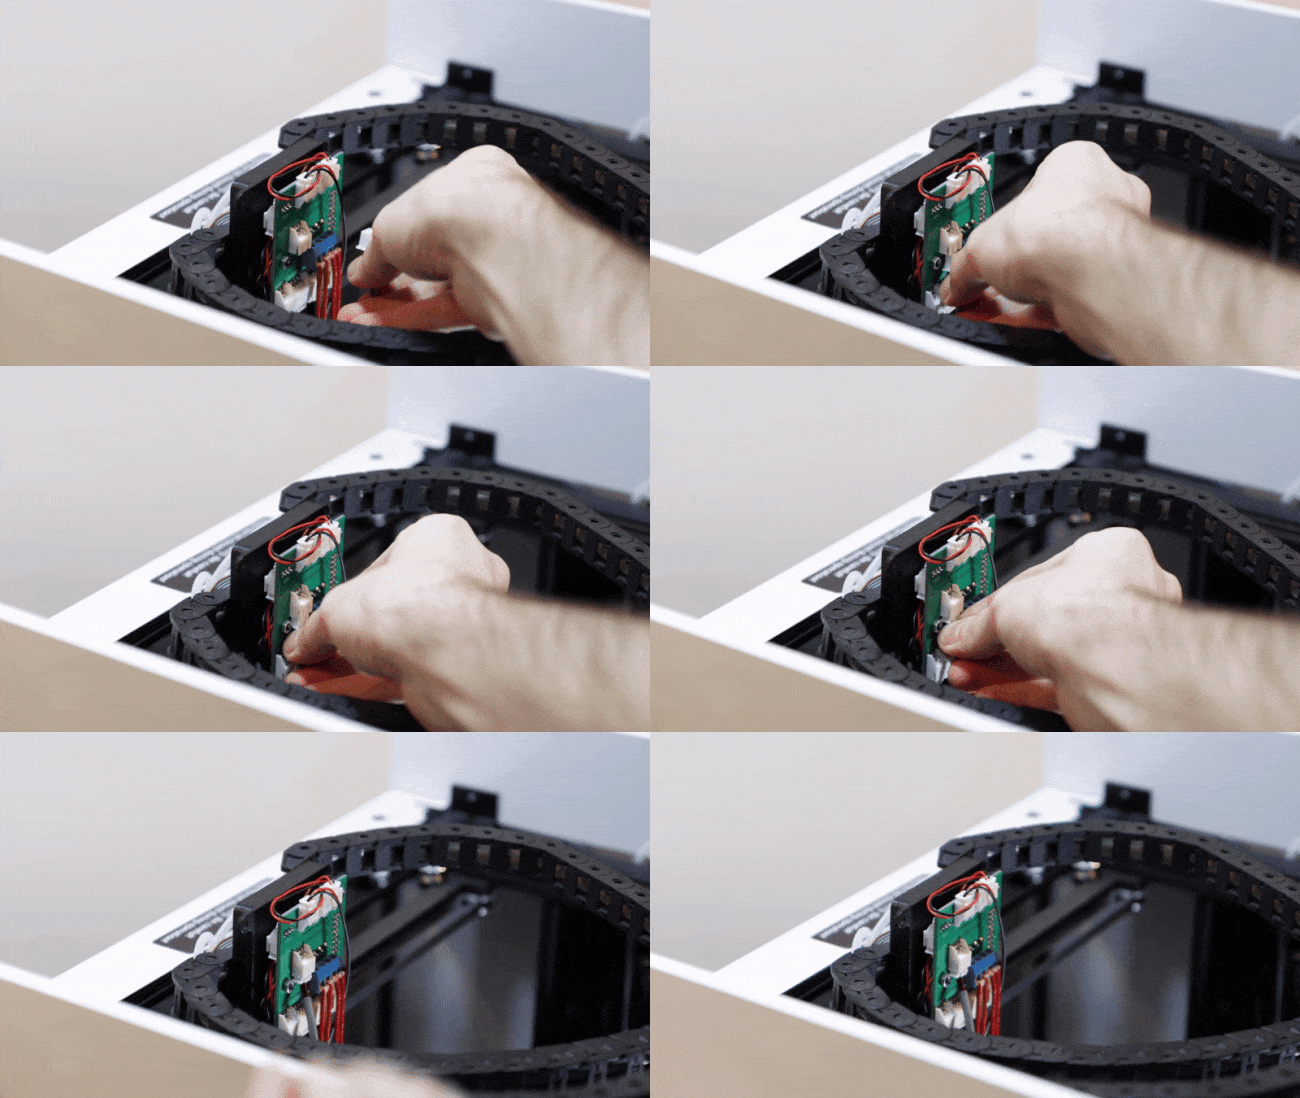
Remove the Z probe cable from its socket.
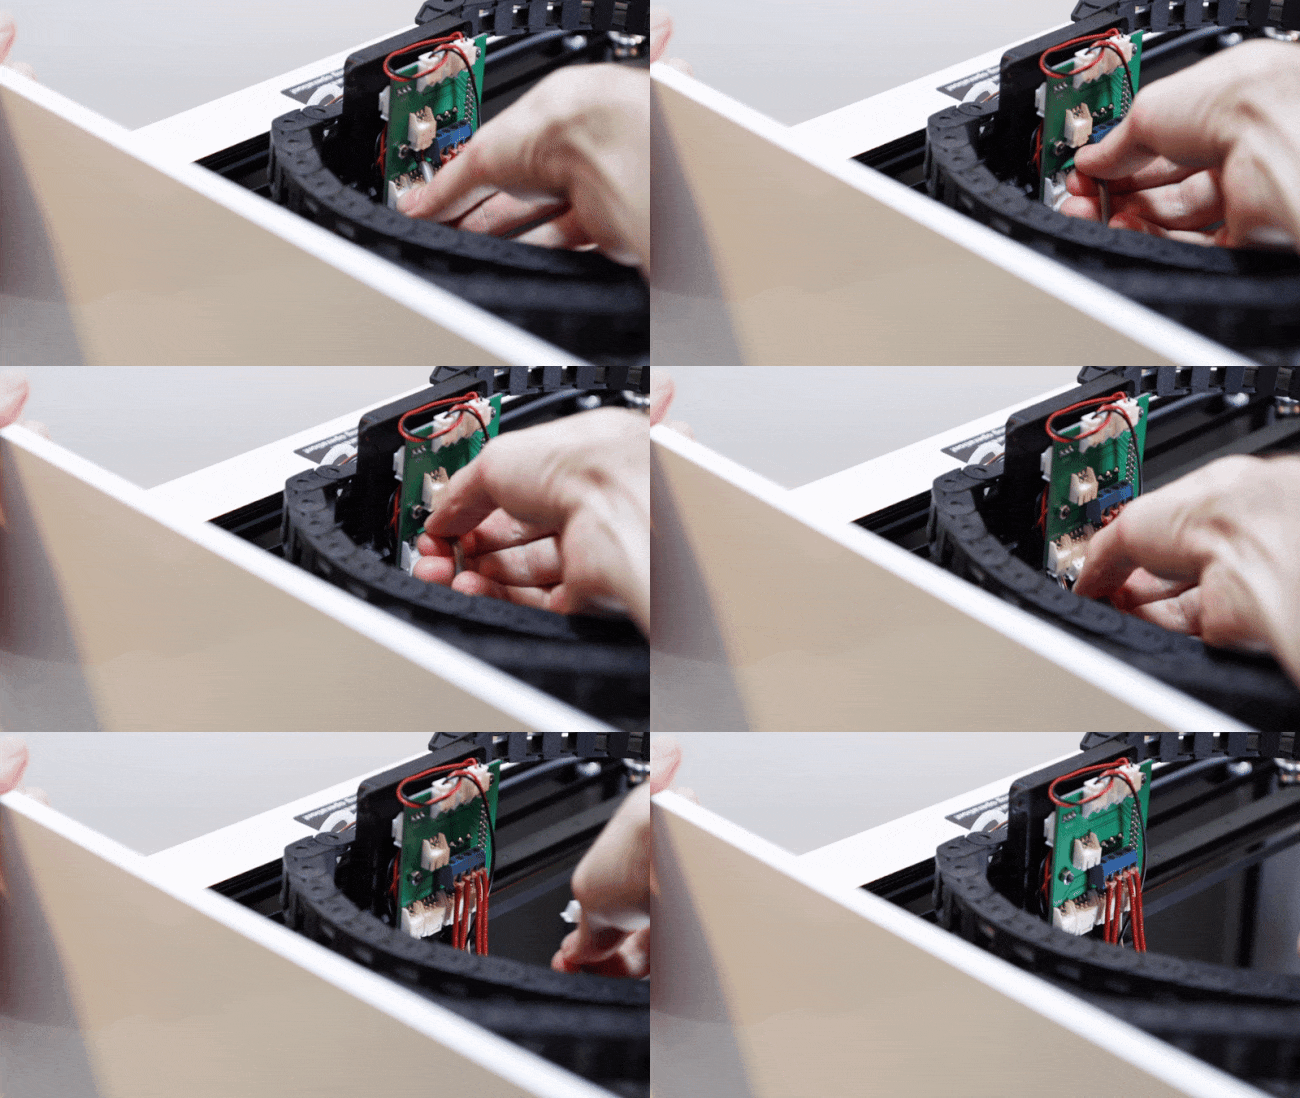
Loosen one of the nuts holding the Z probe in place using pliers and remove it.
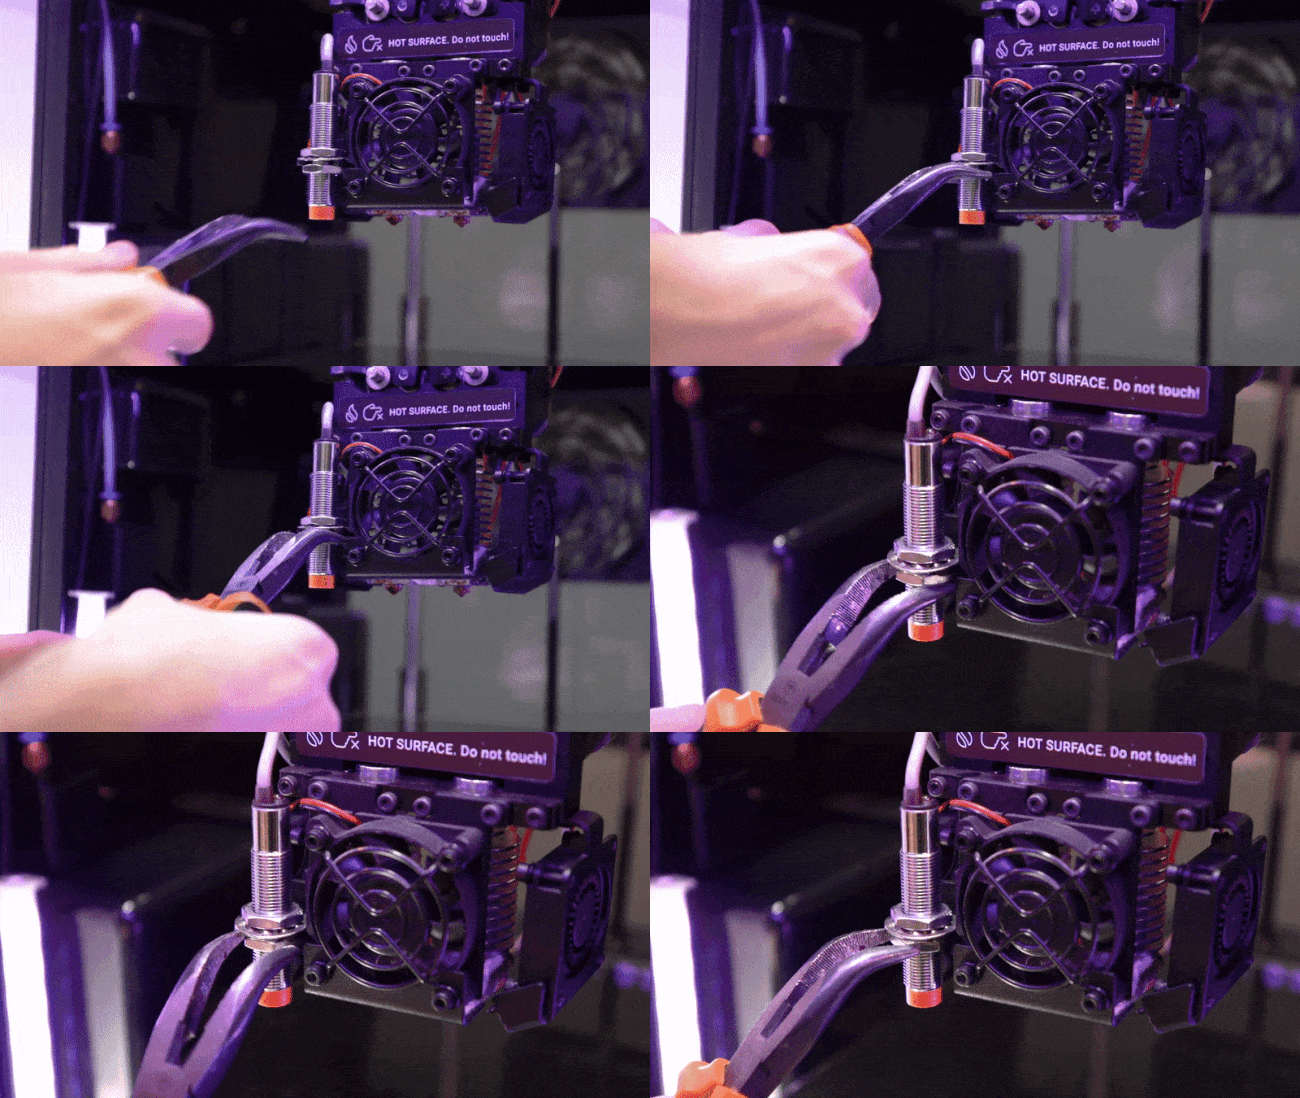
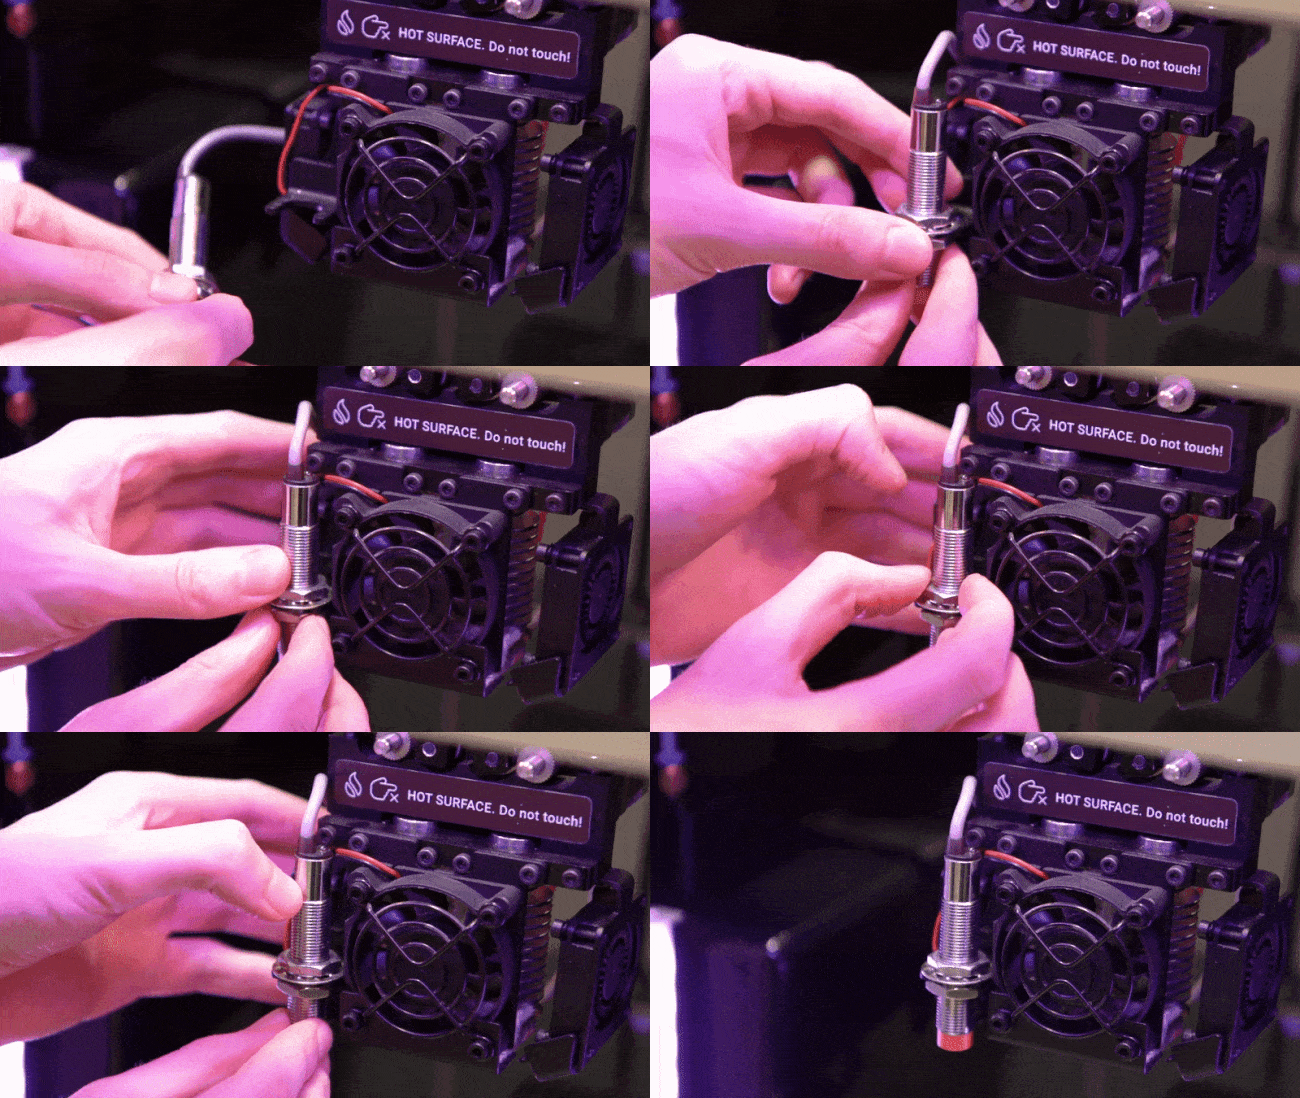
Replace it with a new Z probe and secure it with the nuts. Use pliers to tighten those.
Plug the cable into the socket.
Secure the cables with a velcro strap.
Secure the backplate with 3 bolts.
