Removal of the lower housing on Skriware 2 printers with serial numbers 2/17/1/001 to 2/17/1/040.
You will need: 2.5mm and 3mm hex screwdrivers.
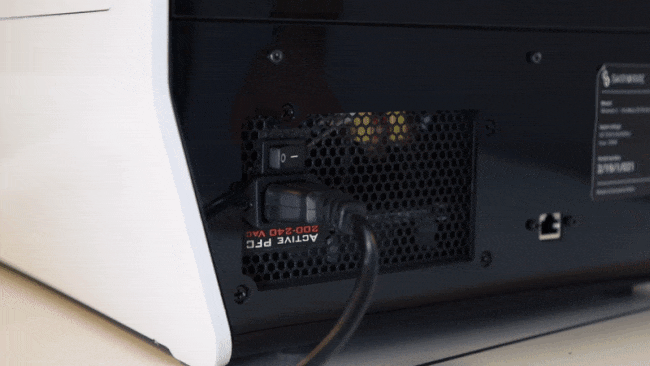
Power off the printer and remove the power plug.
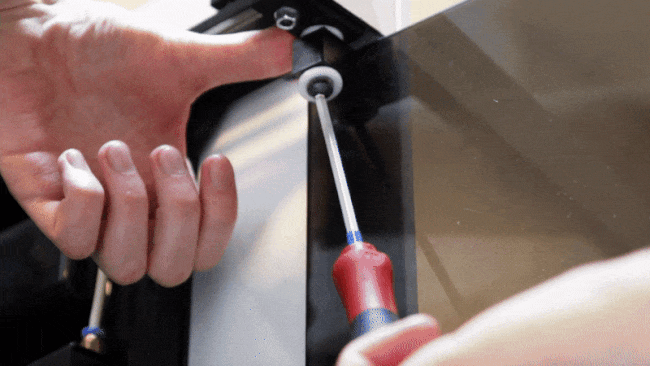
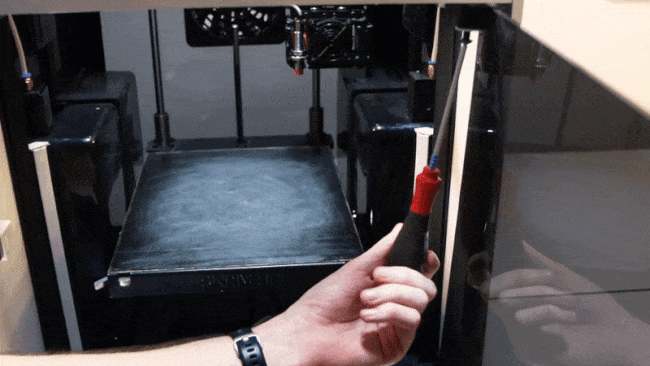
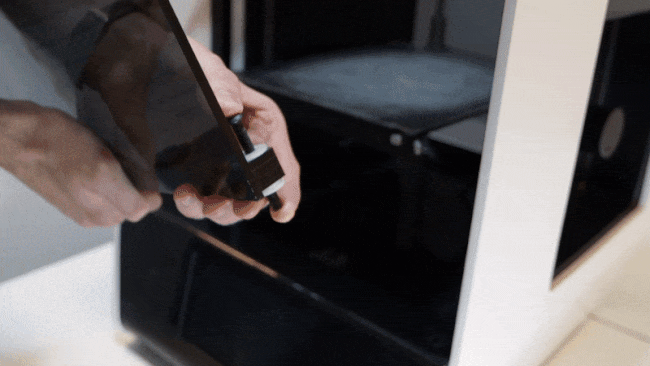
Loosen up the top screw in the front doors just so you can remove the nut that is securing it.
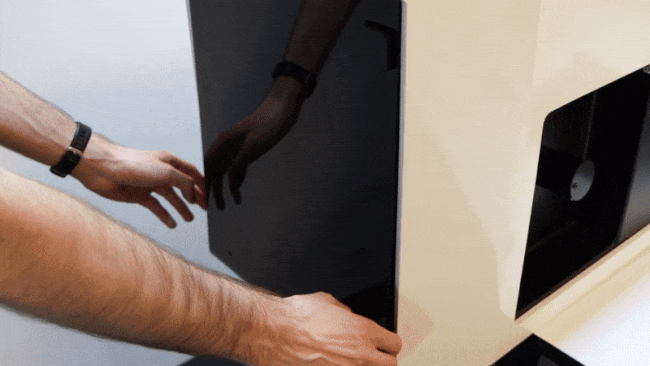
Remove the bottom screw holding the front door. Hold the door in place with the other hand.

Carefully remove the top screw, remove the front door, and place them aside.
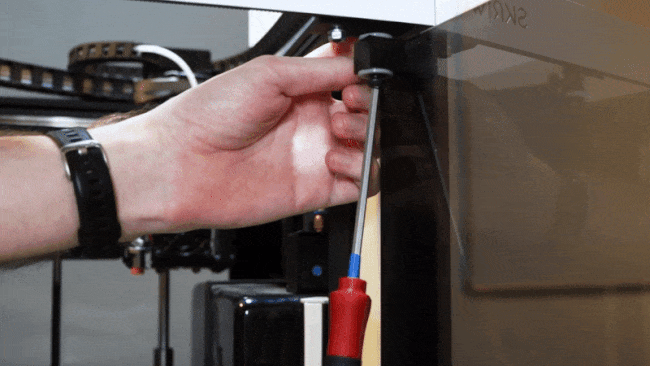
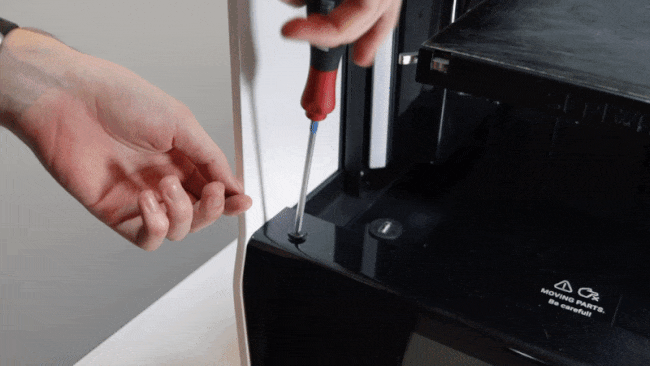
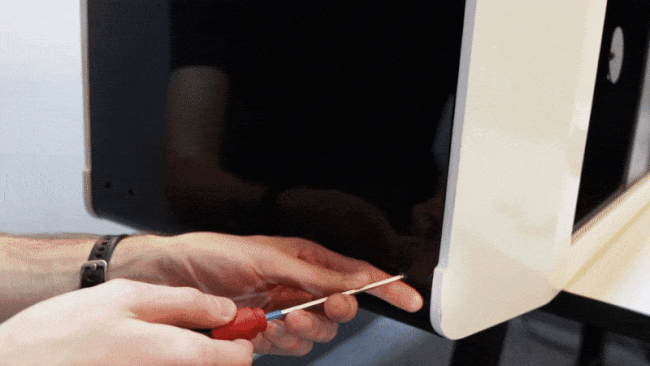
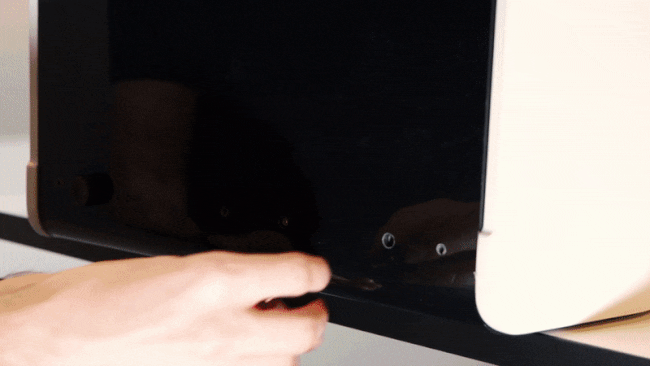
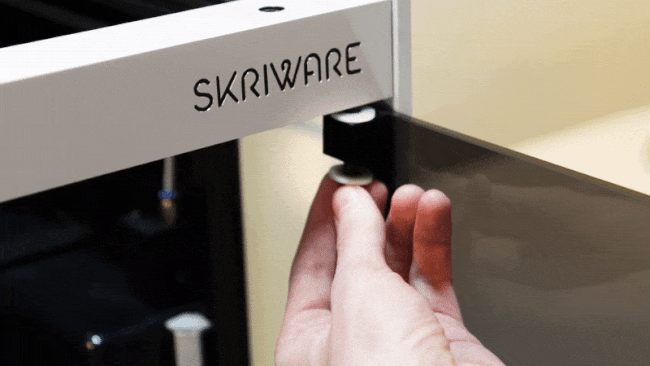
Remove the screw on the bottom left side of the front of the printer.
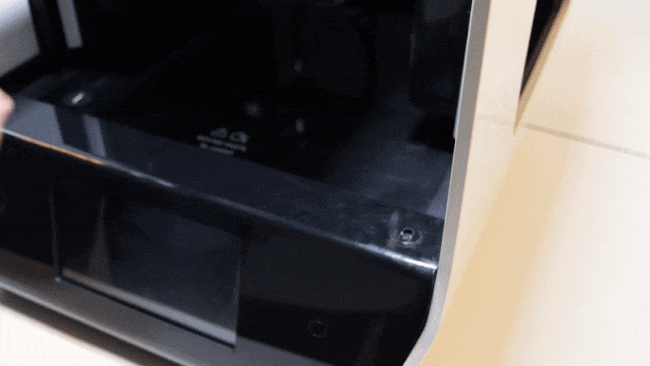
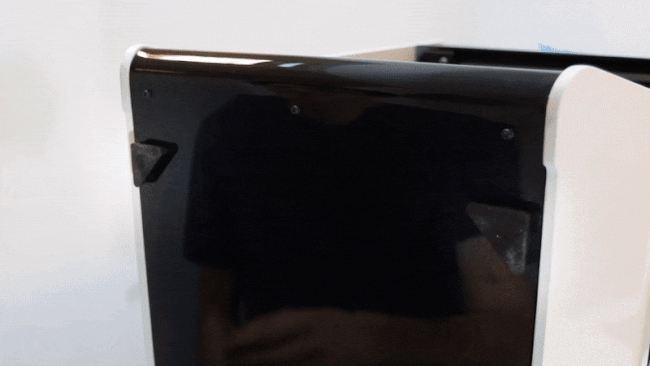
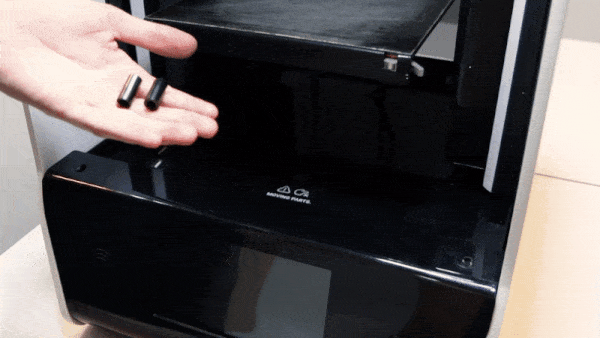
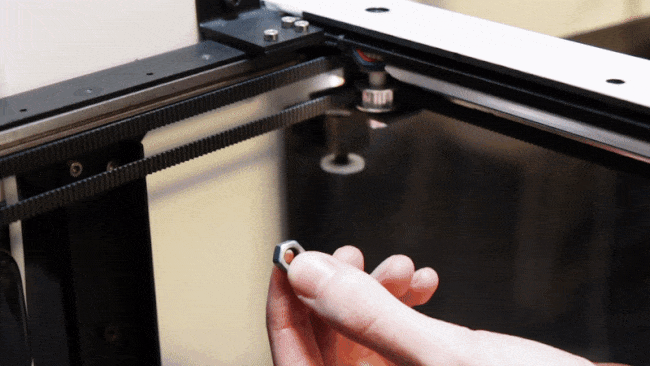
Remove the sleeves from behind the front lip.

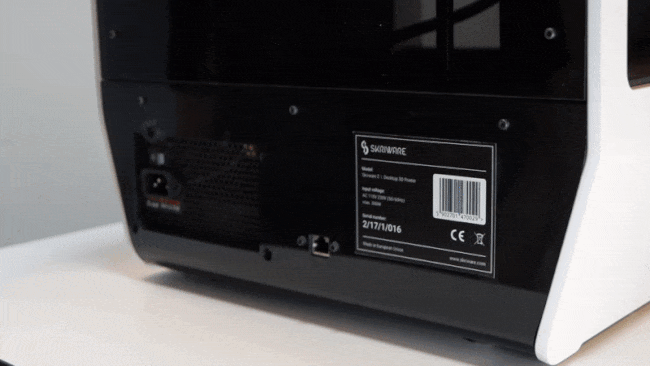
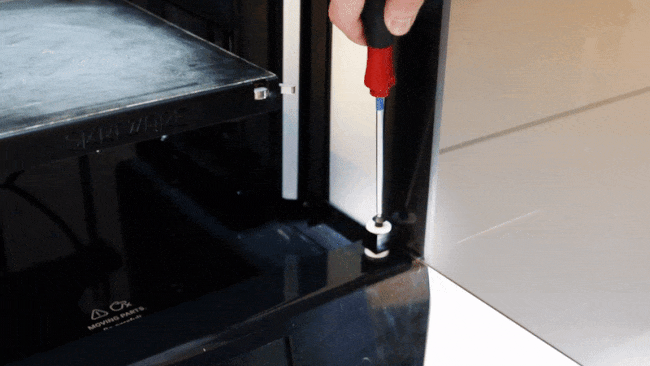
Turn the printer 180° and remove 5 screws from the back lip.

Secure the top cover with tape and place the printer on it's back.

Remove the feet covers and unscrew the legs.
Remove 6 screws.
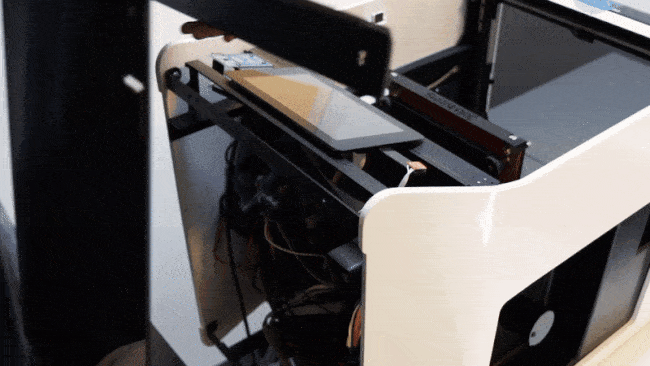
Move your printer so it overhangs the ledge of the table. It's required to do so to start removing the bottom cover.
Start removing the bottom cover. It's easier to grab it near the power supply window.
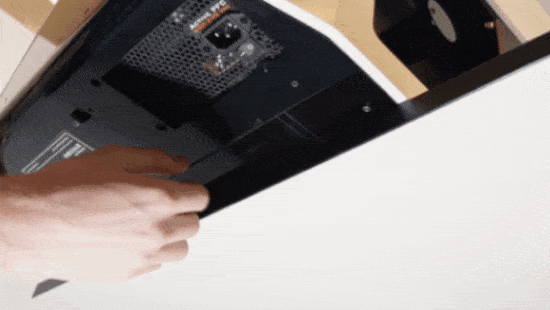
Continue loosening the bottom cover. Don't be afraid to use a bit of force.
To reassemble the bottom cover follow these steps.
Put the cover on. Make sure to match the leg holes with the legs.
Secure the Ethernet port to the back part of the bottom cover. Make sure the cable runs through inside the electronics compartment.
Secure 2 feet. and 3 screws at the bottom.
Secure 3 top screws and 2 feet covers.

Put the printer back on its feet and secure 3 screws in the back.
Place the sleeves under the mounting holes.
Secure the screw at the bottom left side of the printer. Make sure the screw goes through the sleeve.

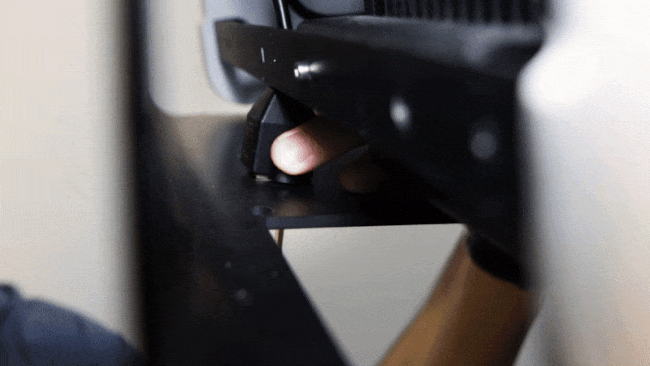
While holding the bolt in the door place it in the mounting hole.
Place the bolt in the top of the door.
Secure the bottom bolt. Make sure the bolt goes through the sleeve.
Place the nut back in place.
Secure the bolt at the top of the door while keeping the nut in place.